That said, here are some general things that I do. Almost as soon as I open an image, whether it is a photograph or a scanned object, I adjust the color and contrast. This alone makes a huge difference. Usually I over saturate the image, as when printed on fabric it will not look as saturated. I crop a lot, and zoom in to look at small portions of the image that intrigue me. If I'm going for something abstract, I literally play around with almost every filter the program I'm using has. It costs me nothing but time to try them out, and I can always save incremental versions of an image. In other words, just play! See what happens and have fun!
Mary was wondering how I made the butterfly image I posted the other day. I started with three not so great photographs.
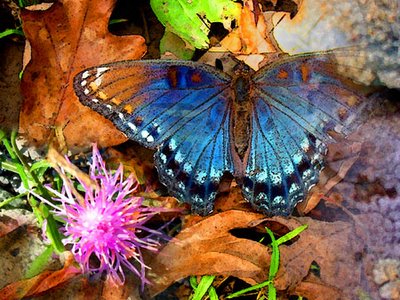
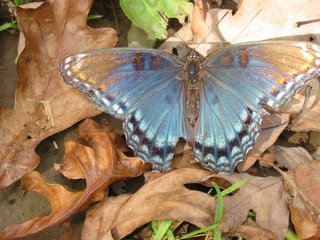 A butterfly or moth that was resting on some leaves. Notice that the butterfly is not perfect, but in the end result it's not very noticeable.
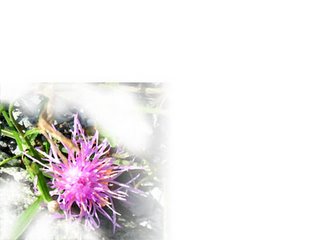
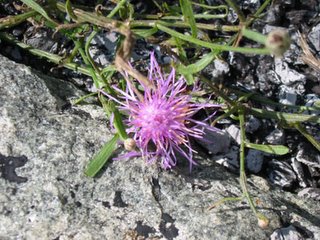 An aster on a rock.
All of these pictures were taken on a family camping trip to Skyline Drive in early October, 2004. At the time I was using a borrowed 4 megapixel camera.
I miswrote that I created this collage in the fall of 2005 - I'm pretty sure it was in 2005, but I think it was earlier than the fall. Prior to that time I didn't know how to use layers in Photoshop - I just fooled around with my programs, sometimes using both Corel and Photoshop on the same image. For this image I followed the directions for layer masking for collaging in the book The Photoshop Book for Digital Photographers by Scott Kelby.
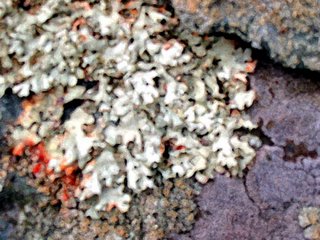
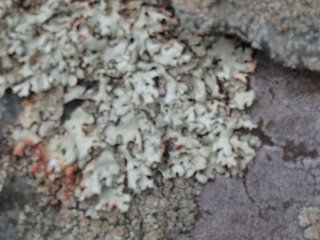
First I enhanced the color and contrast of the blurry lichen. I might have also used one of the artistic filters on it, and used it as the bottom layer.
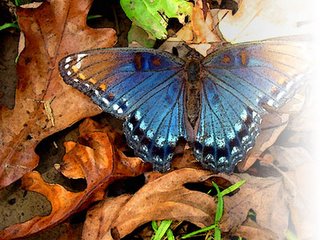
I upped the saturation and contrast on the butterfly picture, then used artistic filters (I think maybe crosshatch and posterize edges?). I made this middle layer have a gradient.
 The topmost layer is the aster. You can see that I only used a small portion of this photograph. It looks like I also used some filters on this one, maybe paint daubs.
When all three layers were combined I flattened them. I'm not sure, but I probably upped the saturation and contrast a little bit more before printing the image.
So there you have it.
 (This is a close facsimile of what I printed out. I don't know where the file is, as we had two computer crashes last year.)
When thinking about writing this post I realized that now I take two kinds of pictures. The first kind is to capture a moment, or memory. Typically this is a photograph of people, and of course I am concerned with both capturing the moment and composing a good picture. The second kind of photograph I take is to capture an image. In this case I don't always worry about making the picture perfect - I know I can use Photoshop to sharpen it, up the contrast, etc. Sometimes I take photographs of things just to capture their colors, and it doesn't matter if the picture is super sharp or even underexposed. My current camera has 8 megapixels, so I can crop to my heart's desire.
I hope this helps answer some of the questions folks have been asking. I encourage all of you to lose your inhibitions and play with abandon using whatever photo editing software you have!

3 comments:
EXCELLENT! I also enjoy Photo Shop magic. I really admire how you put 3 photo's together!
Hi, could you tell me where/how you get your images on to fabric?.
thanks Carolyn
Fantastic blog, Thanks for sharing. Keep posting like this.
Digital Printing on Fabric NYC
Bead and Trim
Post a Comment